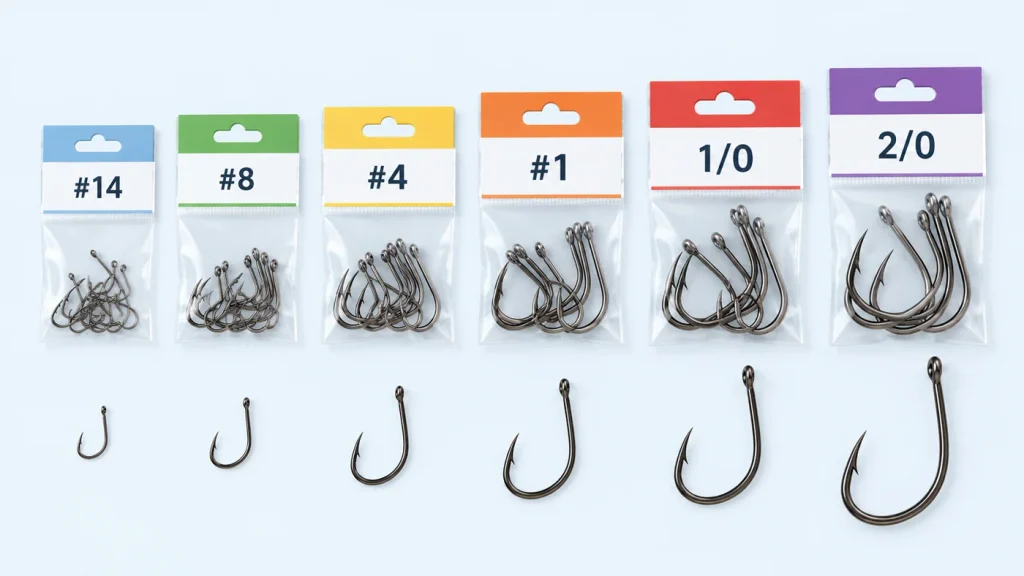
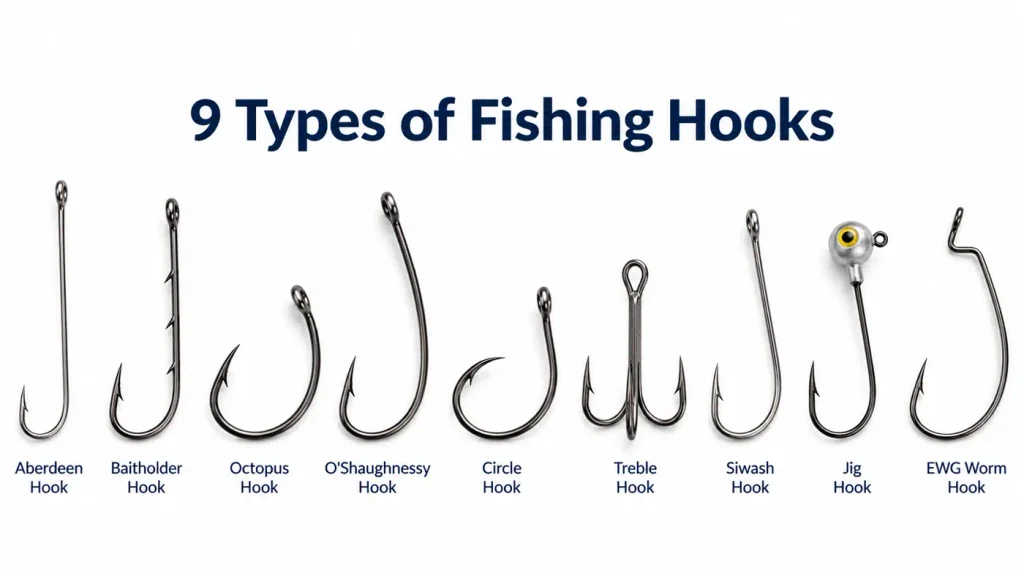
On a bench at home, putting a hook on a fishing line is a two minute job. On a cold bank after dark, with wet hands and wind pushing the rod around, it can eat ten minutes. Anglers rarely lose fish to the wrong knot; they lose them to a connection closed in a hurry. Hooks suited to the job, such as the Bait Hooks built for bait fishing, are the first half of the answer.
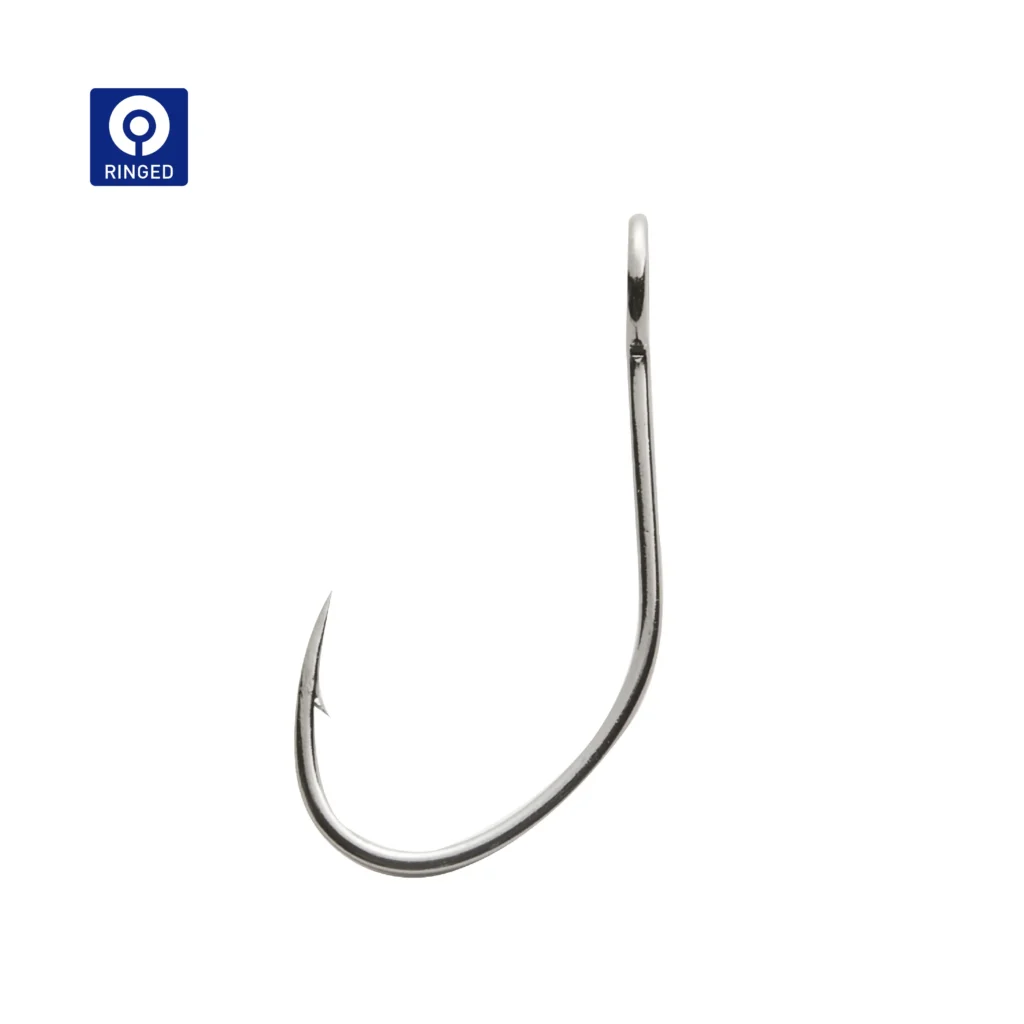
On the most common eyed hook, one basic method runs like this: pass the tag end through the eye, wrap it around the standing line several times, return it through the loop you have formed, wet the line, then pull it down in one firm motion until the wraps seat against the eye. Other connections, a Palomar or a snell among them, follow a different order, and the right one depends on the hook and the line in your hand. What does not change on the water is the condition you finish in, so the real skill is choosing a connection you can complete correctly first time, from light Freshwater Hooks upwards.
The sections below cover the field version of that job.
Why Water-Side Conditions Change the Answer
A hook goes on when the light has gone, your fingers are stiff, and you want to be fishing again inside a minute. The question is not which connection is strongest on a bench, but which one you can complete correctly, unaided, in the conditions you are standing in.
The Three Variables That Set Your Clock
Three things decide how long the job takes, and they usually work against you at once.
- Hand condition. Cold, wet or gloved hands lose the fine control that threading a small eye demands. The loss is predictable: Manual Performance Deterioration in the Cold found that, within its test group, the decline tracked wind chill equivalent temperature and the square root of exposure time, fitting that model at a correlation of 0.93.
- Available light. A headlamp narrows your view to a patch the size of a coin, pushing the job into your fingers.
- Footing. On a moving deck or a steep bank, one hand and part of your attention go to staying upright.
What Actually Fails When You Rig Up Standing
Field failures cluster in four places, none of them the knot pattern.
- The hook leaves your hand. A hook held loosely while you manage the line ends up on the bottom.
- The slack takes over. Wind moves loose line far faster than line you are pinning down.
- The wraps close unevenly. Repeated partial tightening lets wraps cross and ride over one another.
- Nothing is verified. An unloaded connection moves on the first cast.
A Field Workflow for Putting a Hook on a Line
Work in the same order every time: secure the hook so it cannot fall, bring the slack line under control, close the connection in one pull, then confirm it with one firm tug before the rig leaves your hand.
Sixty Seconds of Preparation
This is the step beginners skip, and it decides whether the rest goes smoothly.
- Run the last foot between your fingers; a rough or flat patch from an old snag is where the line will fail, so cut back past it.
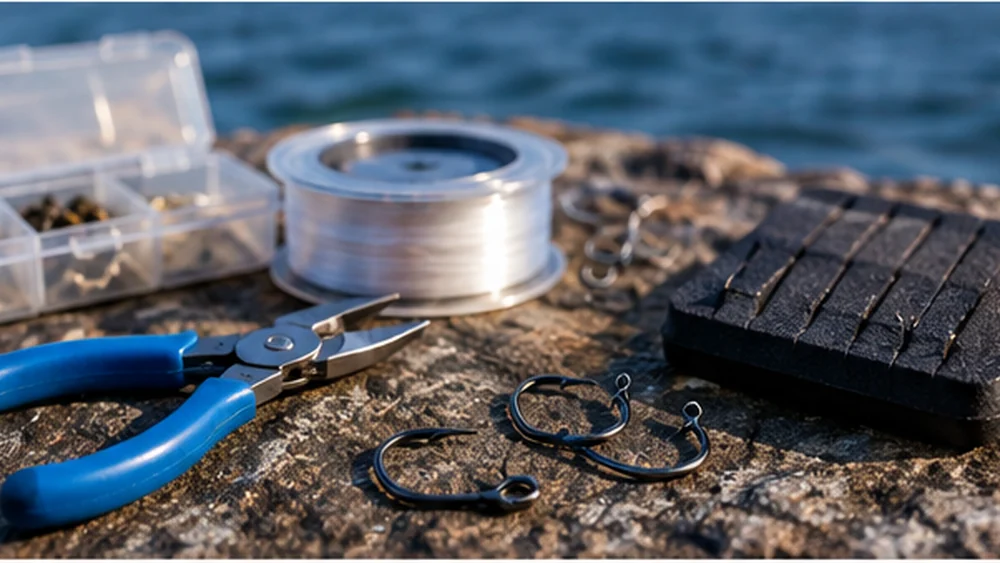
- Lay out hook, cutters and clip before you start; searching mid-tie costs you the hold on the line.
- Wet the line before it seats, because dry friction heats and weakens the material where the load will sit.
Four Moves That Survive Rough Conditions
These four moves stay the same on a boat, a rock or a jetty.
- Park the hook. Seat the point in a hook keeper, a foam hook board or a shallow tray so it cannot swing free or roll away.
- Take the slack. Trap the standing line against the rod butt or your palm so only a short working length can move; wind moves loose line, not line you are holding.
- Close it in one motion. Form the wraps, return the tag end, wet the line, then pull down firmly and once; progressive gentle tightening is what crosses wraps.
- Confirm it. One controlled, steady pull against a solid hold, plus a fingertip pass over the wraps, says more than a check you cannot see.
Wrap counts and routing are covered in full in How to Tie Hook to Fishing Line.
The Check That Takes Ten Seconds
Four things, checked once: the tag end is long enough to have been gripped during the pull, the wraps sit side by side rather than stacked, the connection has seated against the eye, and the line above it is straight with no curl. Anything wrong means cut it off and start again, because a retie costs a minute and a failure costs the hook and the fish.
Rigging by Headlamp, With Cold Hands, and in Wind
Match the connection to your hands and your light, not to a test table. One easier connection finished properly will always beat a stronger connection finished approximately.
Cold Hands: What Changes and What to Do Instead
Cold is a working condition you can plan around. A small trial with six male participants, The Impact of Protective Gloves on Manual Dexterity in Cold Environments, found that gloves significantly lengthened the time needed for manual tasks just below freezing, and that glove type mattered too. So practise with the gloves you actually wear, and cut down what the job asks of your fingertips.
Change how the hook presents itself rather than how big it is: an eye with a wide, visible opening threads far more easily with numb fingers than a small closed ring. If the choice is between fighting that eye and using a hook that already carries line, take the second.
The hook gap is set by bait and target fish, never by temperature.
Low Light Without Losing a Hook
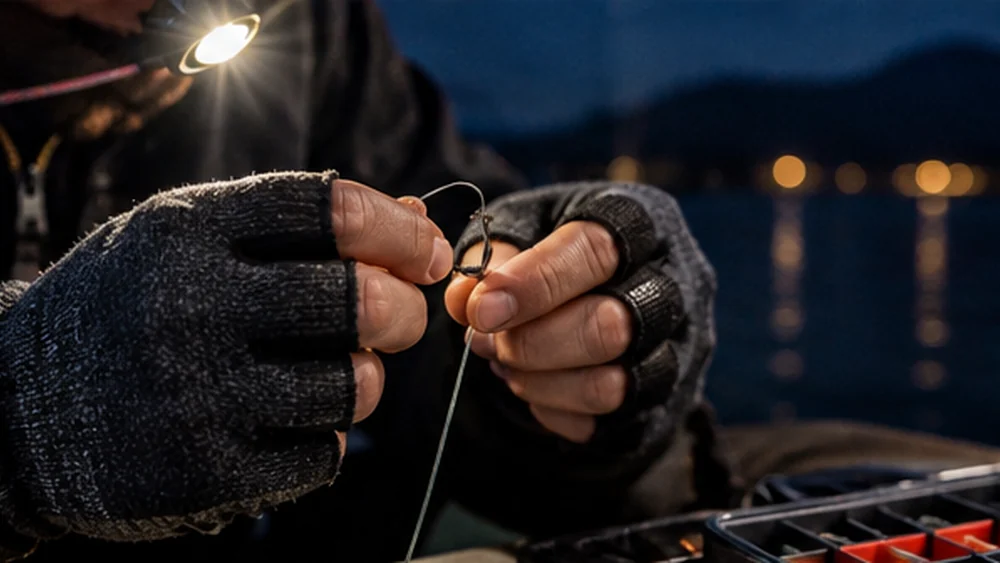
Darkness turns a visual job into a tactile one. Set up on a stable surface so the hook is supported when both hands are needed. Leave a longer tag end than you would at home, so there is something to grab. Light your work rather than the water, and if you cannot see the eye, do not thread it blind: switch to a hook that already carries line, or to a clip.
Wind, Spray, and Moving Ground
Wind acts on what you cannot control: the loose line. Sit or brace where you can, turn your body to shelter the working area, and keep everything you need inside that shelter. If you cannot hold the hook and control the line at once, do not attempt a tied connection; a spare rig in a pocket is worth more than any knot. More condition-driven adjustments sit under Fishing Application Tips.
Picking the Connection You Can Actually Complete Out There
Understand each connection by what has to go right, not by what it scores on a breaking test. Choose the option with the fewest steps that can go wrong, and save the demanding ones for the bench.
Ease in Poor Conditions, Not Strength Rankings
Ease on the water comes down to fine work: threading a small eye, keeping wraps neat, and holding everything steady while it seats.
| Connection | Ease in Poor Conditions | Best Use | Main Limitation |
| Improved clinch | Needs fine threading through the eye | Light monofilament in calm conditions | Awkward on slick lines |
| Palomar | Fewer wraps, but a doubled line must pass the eye | Rigs that accept two passes | Bulky with large hooks |
| Uni | Adjustable and at home on most materials | General purpose re-rigging | Wraps must stay tidy while seating |
| Pre-tied snell | No tying at all once the loop is ready | Fast replacement during a hot bite | Prepared before the session |
| Snap swivel | Clip on and go, no threading | Changing tackle often | Adds hardware to the line |
These are tendencies, not measured times, and no connection is fastest in every situation.
One Connection That Covers a Whole Session
One versatile pattern plus one fallback beats five half-learned ones: fewer decisions under pressure means fewer mistakes. The usual candidate is the uni knot, which works with monofilament, fluorocarbon and braid. Published figures put retention at roughly 80 percent when attaching hooks or lures and about 70 percent when joining lines, but treat those as reference estimates rather than a fixed standard, since the result shifts with line material, diameter and finishing. A pattern you can finish at the end of a long day beats a better one you can only tie in good light.
When a Pre-Tied Hook or Hardware Saves Time
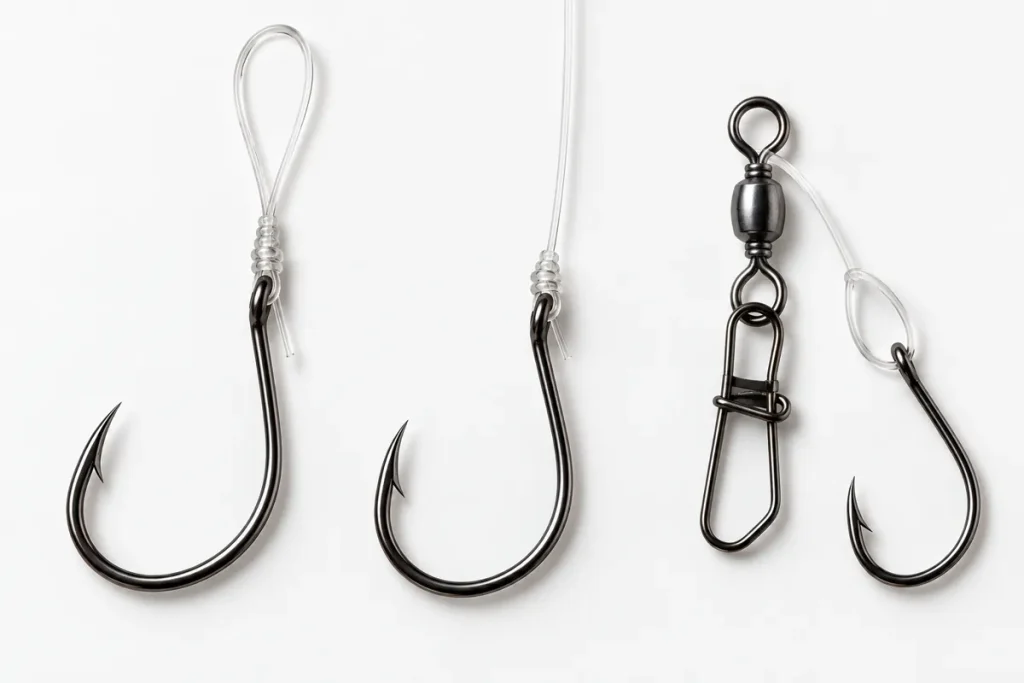
The fastest connection is the one you do not tie. A hook that arrives with line already fixed to its eye, ending in a loop, turns a re-rig into a single loop to loop join, and a clip on the main line does the same. When the bite is on and the light is bad, change the rig rather than the knot.
Emergency Re-Rigging Mid-Session
A snapped line does not need a proper repair on the bank. Cut back past the damage, replace or rejoin the terminal section, and check the new joint before the next cast.
Restoring a Snapped Line With the Rod Still in Hand
Do not strip the whole rig. Bring the break to you, cut back beyond any point of the last few feet that feels flat or rough, because the break usually marks a longer damaged section, then join the main line to a swivel, clip or pre-tied rig and check it once. A generous cut is cheap.
Working With Nothing but Your Hands
If the cutters are behind you, keep the tag end long; it can be trimmed later. Never bite the line to shorten it, since mono and fluorocarbon can cut teeth. In the dark, keep spares in a sleeve, not loose in a pocket.
Retie or Keep Fishing?
Judge the repair, not the fish. A joint made with a full length tag end, seated properly and pulled once can be fished with confidence, while one made in the dark with the last inch of tag end cannot. Re-tie anything improvised once you are back on solid ground, and watch the hook point in the meantime.
The Kit That Removes Most of the Tying
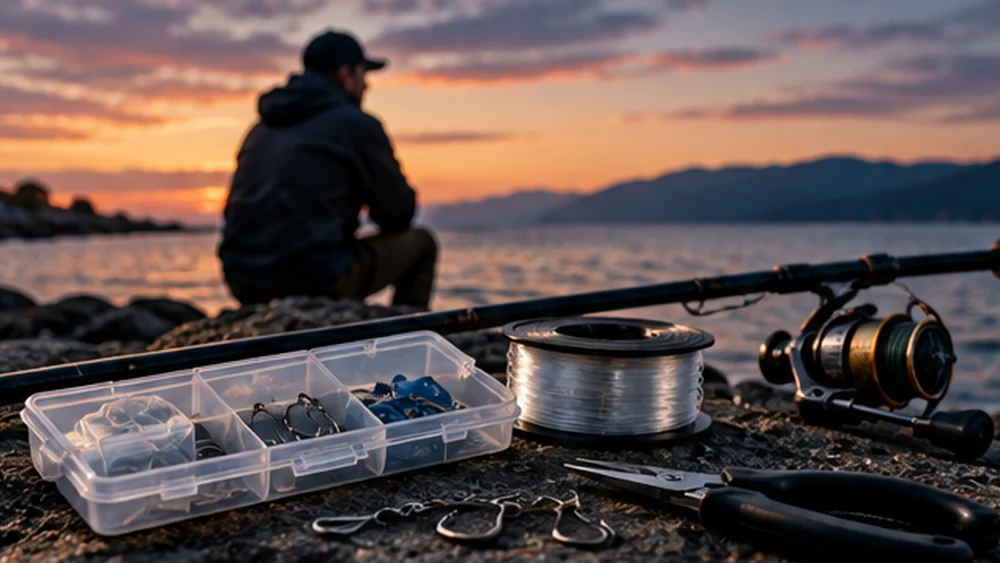
Carry the answer with you. A handful of pre-tied hooks, two or three clips or swivels, and a pair of cutters remove most of the reasons to tie at the water’s edge at all.
How Many Hooks to Pre-Tie
Work from your own record rather than a round number: count the rigs you lost or changed last session and prepare more, grouped by hook size and leader length. Favour quantity over variety: two patterns in numbers beat six in pairs.
Three Items Worth Carrying
Cutters, pre-tied rigs and a light, kept in a pocket rather than the bottom of a bag, since all three are needed when you cannot stop to search. Rig them on a leader wallet or foam spool, because a tightly coiled leader takes a set.
Practising the Field Tie Before You Need It
Practise standing up, with gloves on and a lamp as your only light, and count how long the connection takes. Ten repetitions per configuration shows which of your patterns is genuinely field-friendly, and the aim is to make your bad-weather connection identical to your good-weather one. For bulk supply, reach the Contact Fishing Hook Manufacturing Team.
Frequently Asked Questions
Can you attach a hook without taking your gloves off?
Yes, if the connection does not require threading a small eye: a hook that already carries a loop, or a clip based attachment, can be handled gloved. If you must tie, note that a glove’s last joint sits at the fingertip, so look for exposed fingertips or a fold-back finger and practise gloved rather than assuming.
Is a hook tied with cold hands weaker than one tied at home?
The connection is not weaker because the temperature is lower. The risk is that cold hands produce a badly finished connection, with crossed wraps, a tag end that was never gripped, or wraps that never seated against the eye. Since the failure comes from how the job was completed, simplify rather than pulling harder or adding wraps as compensation.
How do you carry pre-tied hooks so they do not tangle?
Keep the leaders straight rather than tightly coiled, and keep each hook point covered, with every rig in its own slot. Check for a set or a kink before use, because line stored in a tight coil holds a curve that straightening will not remove.