Most anglers lose fish not because they never learned a good knot, but because the knot they tie at the kitchen table is not the knot they can finish on a rocking boat in the dark. Hands go numb, the wind lifts a loose loop out of your fingers, the light is too dim to see whether the coils crossed, and the rig gets tied three times before it looks right. Every retry costs fishing time, and the rushed third attempt is the one that fails.
The best way to tie a fishing hook is not a single knot. It is the connection you can complete correctly and consistently in the conditions you are actually fishing in, backed by rigs you prepared before you reached the water. Choose a knot you can finish without inventing steps, pre-tie the leaders you expect to use, and treat every retie as time lost.
This guide skips the step-by-step tutorials and focuses on what decides whether your day goes well: preparing rigs in advance, tying under wind, cold, and low light, catching mistakes before they force a retie, and knowing when swapping the whole rig beats tying a new hook. The underlying knots sit in How to Tie Hook to Fishing Line.
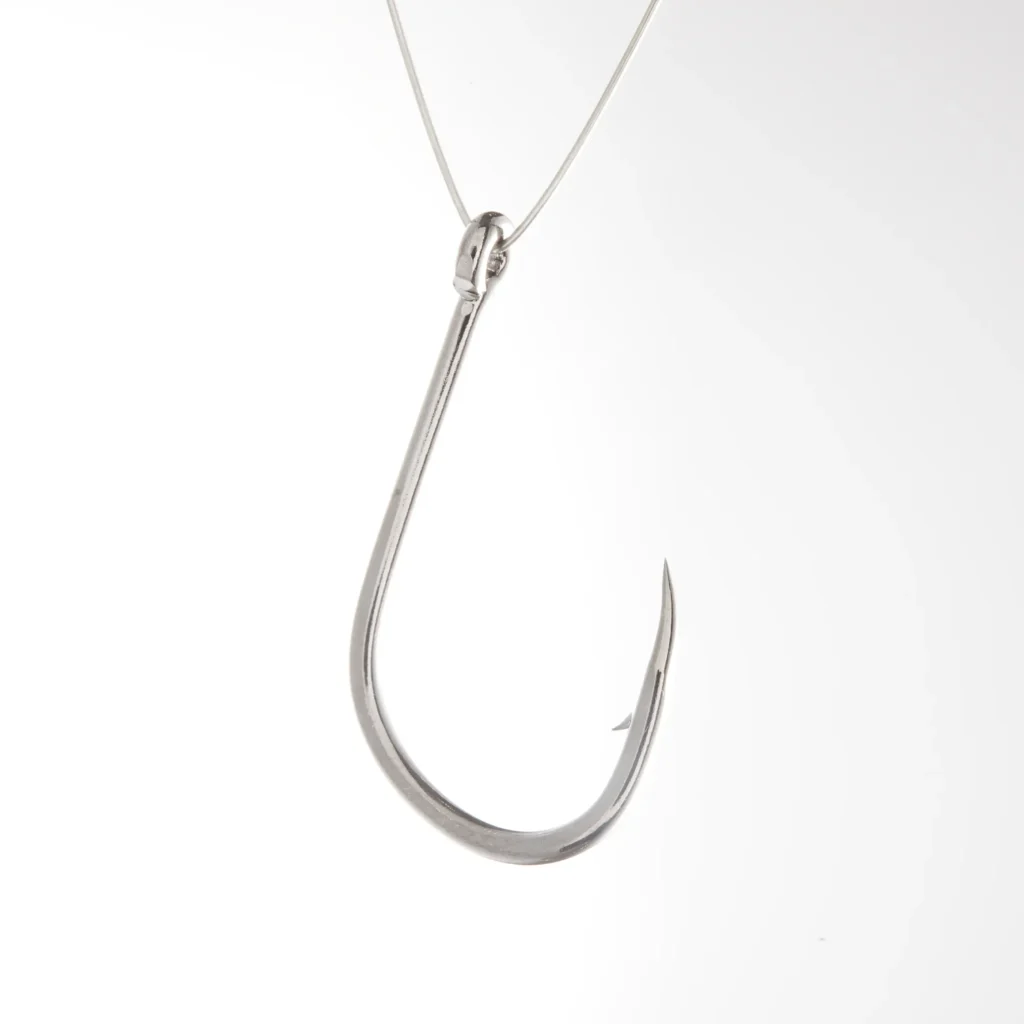
What Is the Best Way to Tie a Fishing Hook in Real Conditions?
In real conditions, the best way to tie a fishing hook is the option that finishes reliably with the hands and eyesight you have at that moment. That usually means a simpler knot than the one you use at home, working from pre-tied rigs where possible, and accepting a different connection rather than gambling on a complicated one you cannot verify.
Treat knot choice as a question of completion rate rather than strength. A knot holding ninety-five percent of line strength is worthless if you botch it one time in three with stiff fingers. Three knots cover most hook connections: the Palomar for slick, low-stretch line, the Uni as the most forgiving to learn, and the snell for aligning a hook with the pull.
| Situation | Fastest Practical Approach | What to Avoid |
| Bright daylight, calm, warm hands | Tie the knot you know best directly to the hook | Experimenting with a pattern you have never finished |
| Wind lifting the loose tag end | Shorten the working length; use fewer free loops | Long free lengths the wind can tangle |
| Cold hands, poor dexterity | Swap in a pre-tied hook length instead of tying | Persisting with small eyes and thin line |
| Low light or headlamp only | Use rigs pre-tied and pre-checked in daylight | Anything requiring you to see coil alignment |
| Snagged repeatedly on structure | Replace the whole hook length, then check the main line | Re-tying onto abraded line |
| Changing hook size often | Use a clip or loop so the terminal knot stays put | Re-tying the main-line knot every time |
Prepare Your Hook Rigs Before You Reach the Water
The most effective time-saving measure is not a faster knot, it is not tying at all. Preparing hook lengths at home converts minutes of awkward work on the bank into seconds of swapping a finished rig on.
Anglers who consistently out-fish their own previous seasons are usually not better at knots; they simply spend less of the session tying them.
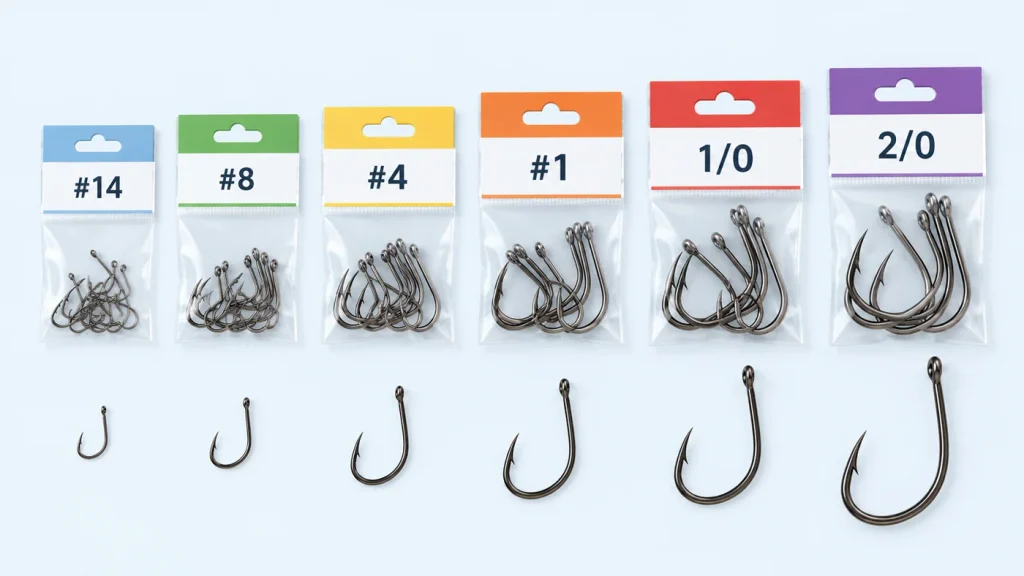
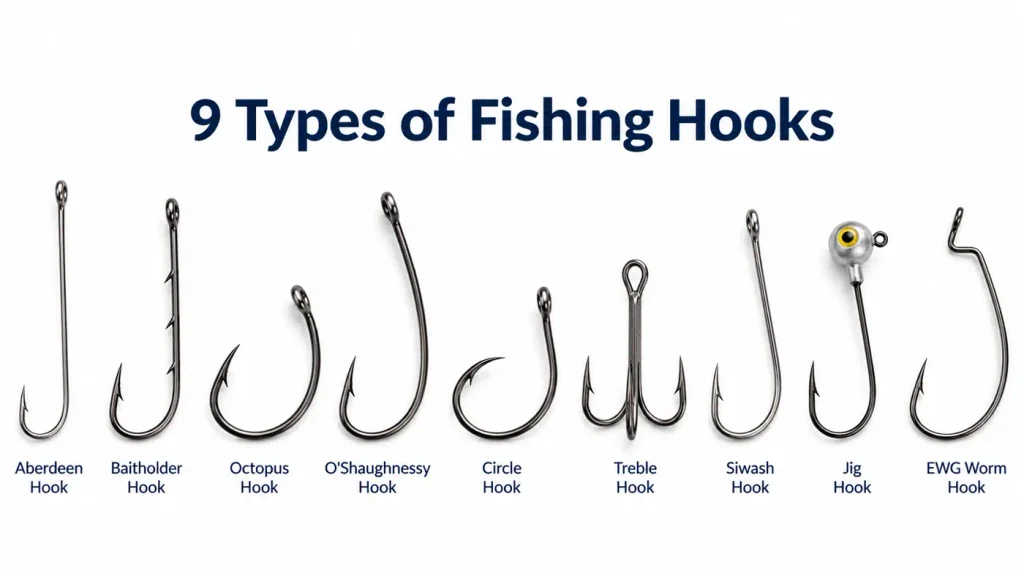
Work from the hooks and line diameters you use most, and build separate batches if you fish both fresh and salt water.
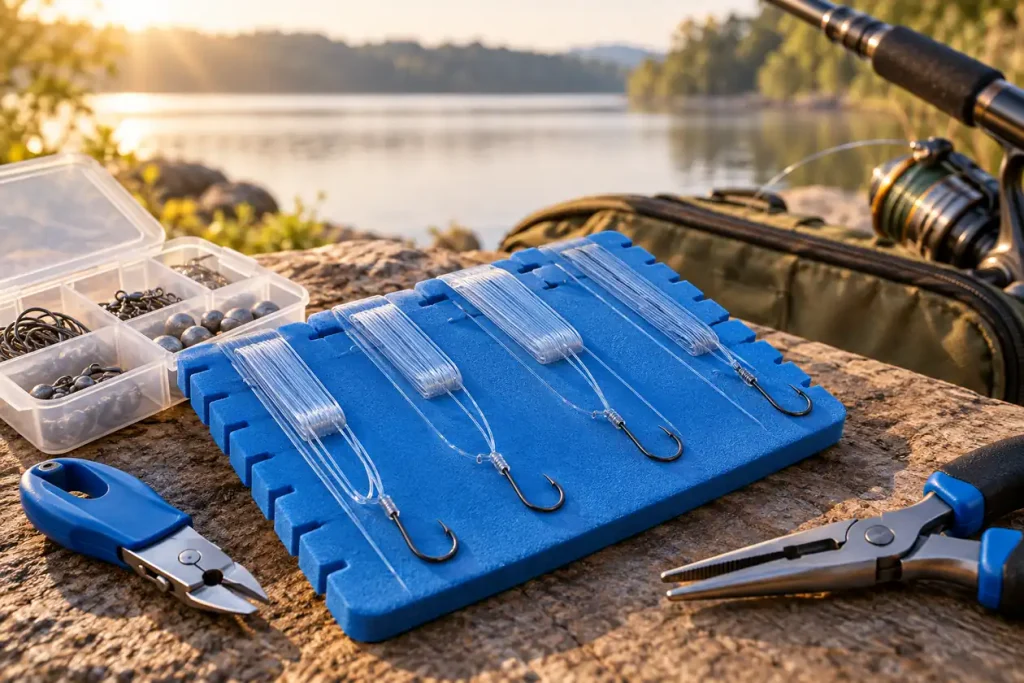
- Tie to a consistent length so you can predict how the rig sits and how much main line you retain.
- Store each length with the point protected so it cannot nick the coiled line.
- Label by hook size and line diameter, not by date.
- Keep batches modest, and retire any batch stored hot or in direct sunlight.
Speed on the water is often a tool-access problem rather than a knot-tying problem. Carry line cutters on a lanyard, a small hook file for burrs inside hook eyes, pliers, a light that illuminates both hands, and pre-tied rig spools you can identify by feel.
When Clips and Pre-Tied Hooks Actually Save Time
Clips, snaps, and split rings reduce time, but only for specific jobs, and they should not be described as if they remove knots entirely. A clip at the end of the leader lets you change lures and some ready-rigged setups without touching the terminal knot, but it does not remove the knot connecting leader to main line.
Two clarifications worth holding onto. Winding line around the shank, as in a snell, is itself a knot, tied around the shank rather than through the eye. And the only genuinely knot-free routes to the hook are a factory-snelled hook, or a closed-eye hard lure paired with a split ring or clip.
Where clips help most: changing lure patterns to find a bite, where the terminal knot stays intact while you swap. Where they do not: changing leader material or diameter, since the main-line knot is redone anyway, and replacing an abraded hook length after a snag, since that length must be cut off and re-tied regardless.
How to Tie a Hook Faster in Wind, Cold, or Low Light
Every difficult condition attacks a different part of the process. Wind steals your loose line, cold takes your dexterity, and darkness takes your ability to verify. Adjust for the specific problem instead of trying to power through it.
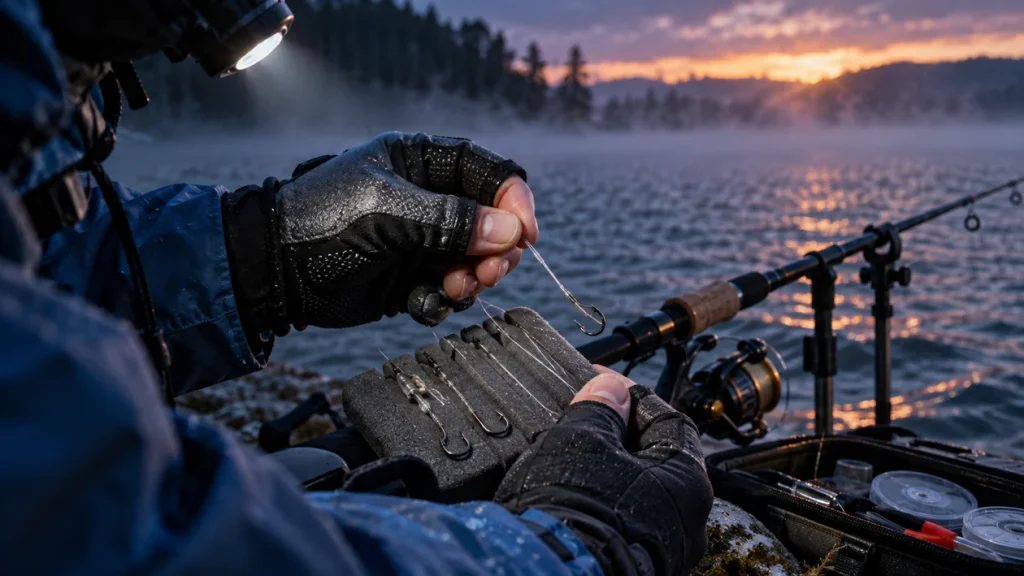
Windy Conditions: Control the Loose Line
Wind does not break knots, it disrupts the geometry before the knot is finished. Loose tag ends get thrown into tangles, and a loop that will not stay put will not accept the right number of wraps.
- Shorten the working length; a shorter free end cannot be lifted into a tangle as easily.
- Hold the hook and standing line under light tension between the same two fingers so neither drifts while you wrap.
- If you cannot keep the loop stable, fit a pre-tied rig. That is the correct decision, not a defeat.
Cold Hands: Use Larger Workable Loops
Cold reduces fine motor control before it reduces strength, which is why thin line and small eyes become disproportionately hard in winter.
- Leave more line to work with; generous working lengths give stiff fingers more to grip.
- Prefer knots with fewer steps over those demanding careful positioning of a small loop.
- Warm the line against your hand, and wherever the choice exists, replace rather than retie.
Night Fishing: Reduce the Steps You Must See
Move verification into daylight. Anything you must see to get right should have been done before you left. Use a light that illuminates both hands and the eye at once, since a narrow beam leaves the coils in shadow, and store rigs so you can select one by feel. If you cannot confirm the knot seated, cut it and use a pre-tied rig; a connection you cannot inspect is one you cannot trust.
Small Knot-Tying Habits That Prevent Costly Reties
Most forced reties come from three avoidable habits: coils allowed to cross, a final pull that was too fast, and a tag end cut so close it removes all margin. Fixing those costs a few seconds and prevents the slow, cumulative loss of a session.
Keep Coils Organized Before Tightening
Coils need to sit beside each other, not on top of each other. Overlapping wraps create pressure points that cut into the line and produce a knot that looks finished but breaks early.
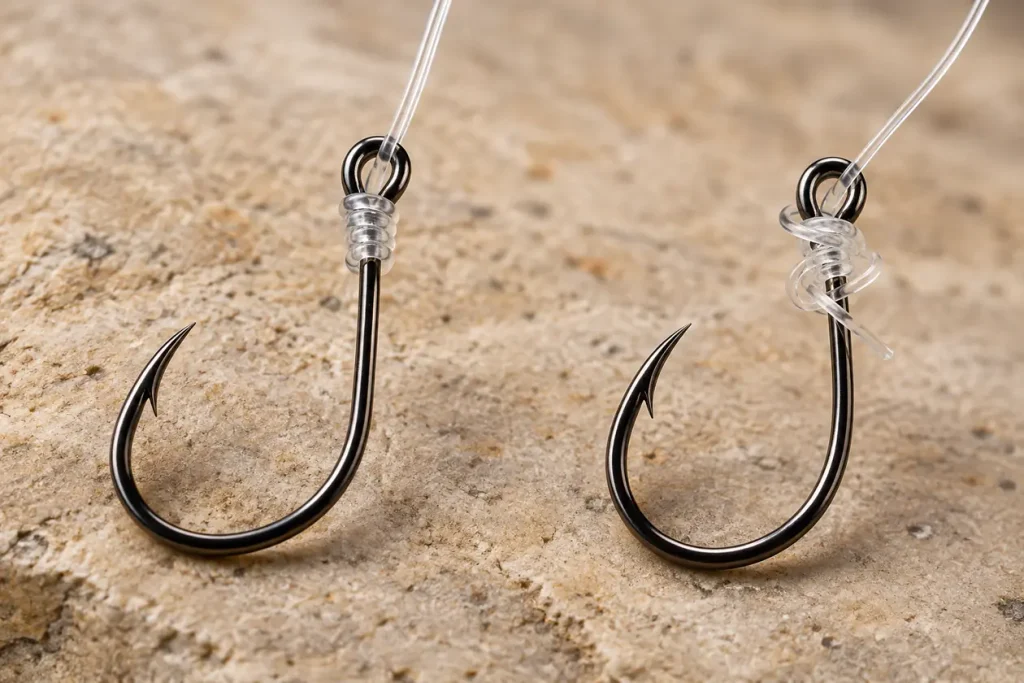
- Keep light tension on the standing line while you wrap, so the coils have something to form against.
- Guide each wrap into position instead of wrapping quickly and hoping the coils sort themselves out.
- Inspect before the final pull, while everything is still loose enough to correct. Once cinched, an uneven coil can only be retied.
Use a Controlled Final Pull
The final pull decides whether a well-formed knot seats correctly or is damaged. Friction generates heat, and line damaged by heat fails below its rated strength without ever looking wrong.
- Moisten before tightening; lake water or saliva lets coils slide into position instead of gripping and heating.
- Tighten slowly and steadily rather than in a single hard jerk, so coils nest evenly.
- Follow the sequence the knot calls for, and trim with clippers rather than your teeth. Leave the tag end short enough not to catch in the guides, but long enough to keep margin if the knot shifts.
Quick Fixes When a Knot Refuses to Seat Properly
A knot that will not seat is telling you something specific. Diagnose which problem you have, fix it, and move on, rather than pulling harder or casting anyway and hoping.
| Symptom | Likely Cause | What To Do |
| Coils bunch into a lump instead of lying flat | Wraps overlapped or laid down unevenly | Loosen while still workable and rewrap, or cut off and retie |
| The loop traps itself or twists as you close it | The loop was crossed before the final pull, or the tag end went through on the wrong side | Catch it before tightening; once cinched, retie rather than force it |
| The knot starts creeping under load | Line material and knot do not match, or seating was rushed | Do not add random wraps; switch to a knot suited to that line |
| The knot looks correct but breaks at the eye | A burr inside the hook eye, or line damaged by dry cinching | File the eye, cut back to sound line, retie |
| The knot seats but the tag end is almost gone | Trimmed too close before the knot seated | Retie with more margin; this knot cannot be trusted |
Adding wraps is a real fix only when the problem is insufficient grip on a slick line. When a knot will not stay seated in a material it suits, change to a connection with a better record on that line. Slippage and breakage both occur in the field, and which dominates depends on the knot, the line material and diameter, and how well it was tied.
When Replacing the Whole Rig Is Better Than Retieing the Hook
If the failure came from the line rather than the knot, re-tying the hook solves nothing. Replacing the whole hook length takes marginally longer and removes the actual problem.
Fishing around structure produces repeated, small insults to your tackle. Each snag stretches and abrades the leader, and each time you pull free you damage line between hook and main-line knot. When you lose rigs regularly, pre-tied hook lengths change the economics: instead of re-tying under pressure, you cut the damaged length off and fit a finished one.
Local Line Damage: Why Changing Only the Hook Is Not Enough
Damage is local, which is convenient: you rarely need to replace a whole leader, let alone a spool. But it is easy to underestimate, because a nicked section can feel almost normal while breaking far below its rating.
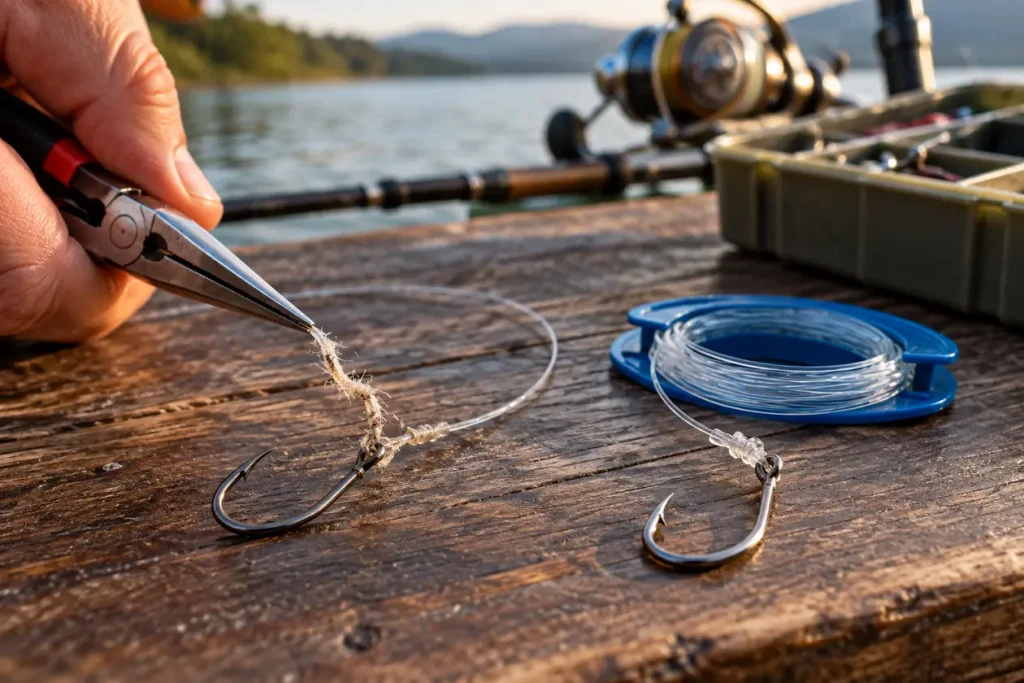
- Run the last stretch of line between your fingers after any hard fight or serious snag; roughness, flat spots, and kinks all indicate damage a new knot will not fix.
- Cut back past the damage, not up to it. Re-tying above an abraded section puts a sound knot onto unsound line.
- Retie after any fish that tested the tackle, and if damage runs longer than a short length, replace the whole hook length and check the main line above it too.
Speed with clips and quick changes is only a gain if the resulting connection is as sound as the one you replaced. Do not reuse a damaged hook, and do not clip a new hook length onto a main-line knot that has already taken load unchecked.
The rule is simple: save time by moving work earlier, not by removing checks. Skipping inspection, or re-tying onto damaged line, compresses the process by cutting the part that protected you.
A Faster Pre-Cast Routine That Still Checks the Essentials
A short, fixed routine beats deciding what to check each time. Six steps, done in the same order at every rig change, catch nearly every problem before it reaches the water.
- Select a prepared rig, reaching for a pre-tied hook length when conditions make tying difficult.
- Check the working line. Pass the section near the connection through your fingers; cut back past any roughness, flat spots, or discolouration.
- Make the connection, using the seating sequence that knot calls for.
- Tighten with control. Moisten first, pull steadily rather than sharply, and let the coils nest into position.
- Quick visual and tactile check. Confirm the coils are even and parallel, the knot has seated, and the tag end has margin.
- Apply a controlled test pull. A firm, steady pull reveals a knot that will slip. If anything feels wrong, replace or retie now rather than discovering it with a fish attached.
Repeat the routine after every event that loads the connection, including fish landed, snags cleared, and long spells casting through the guides. Keep a modest stock of finished hook lengths in your kit, since a check is worth little if you have nothing to fit when it fails.
FAQ
What is the quickest reliable way to tie a hook in cold weather?
Fit a hook length you prepared at home. That is faster than any knot tied in freezing conditions and removes the dexterity problem entirely. When you must tie on the water, leave more working line than usual, warm the line against your hand, choose the connection with the fewest steps, and tighten slowly.
Can pre-tied hook leaders save time without sacrificing reliability?
Yes, and they often improve reliability, because they are tied in good light with warm hands and no time pressure. The conditions that make on-water tying risky are the ones in which a home-tied leader is safest. Tie them at a consistent length, store them so the point cannot nick the line, and inspect each before fitting.
Should I change knots if I keep having to retie the same hook?
Usually yes, but change the diagnosis first. If a knot keeps failing on the same line, the issue is usually that it does not suit that material rather than a flaw in your technique, and switching to a connection known to work with that line resolves it. If the line keeps breaking near the hook instead, check the eye for burrs and cut back to fresh line.
Is the strongest knot always the best one to use?
No. The strongest connection you cannot finish reliably in the conditions you are fishing is a worse choice than a slightly less efficient one you get right every time. Strength figures also depend on line material, diameter, and how well the knot was tied, so a ranking rarely transfers from one setup to another. For a fuller comparison, see How to Attach Fishing Hook to Line.